Journal
How to Hang Your Skateboards: A Step-by-Step Fitting Guide
Poire Noire team · April 29, 2026 · 6 min read
By the Poire Noire team
Short answer: Your board arrives with its 3D-printed bracket already stuck on. Screw the small 3D-printed wall plate to the wall with two screws, slide the bracket down into the wall plate and nudge the board until it hangs straight. The mount is tested to hold 15 kg+ when mounted properly with fixings suited to your wall. For a three-deck set with 5 cm gaps, allow about 71 cm (28") of wall.
Watch how the mount parts wedge together:
Video guide
What's in the box
- Your boards: 7-ply maple decks, 32" × 8" (about 81 × 20 cm), ready to display.
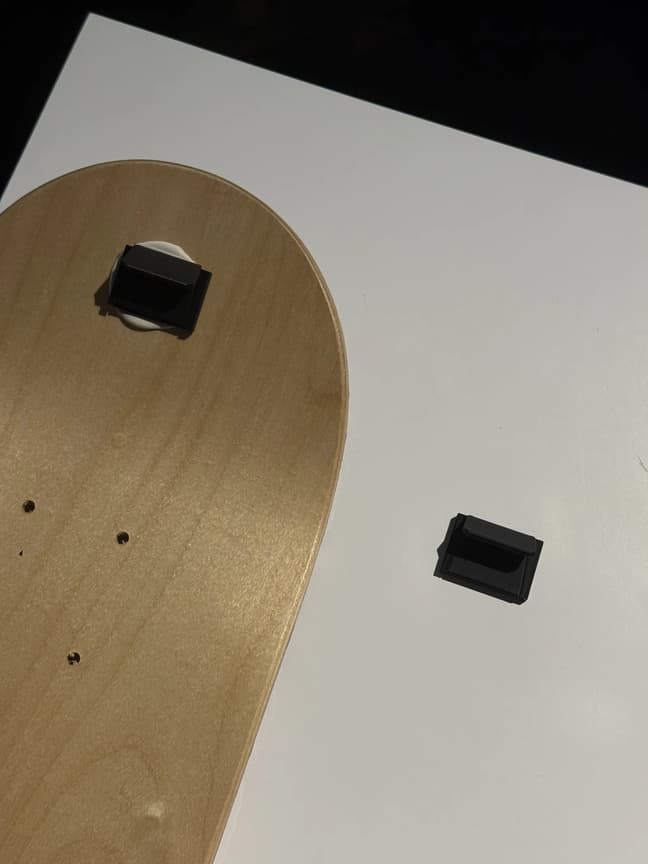
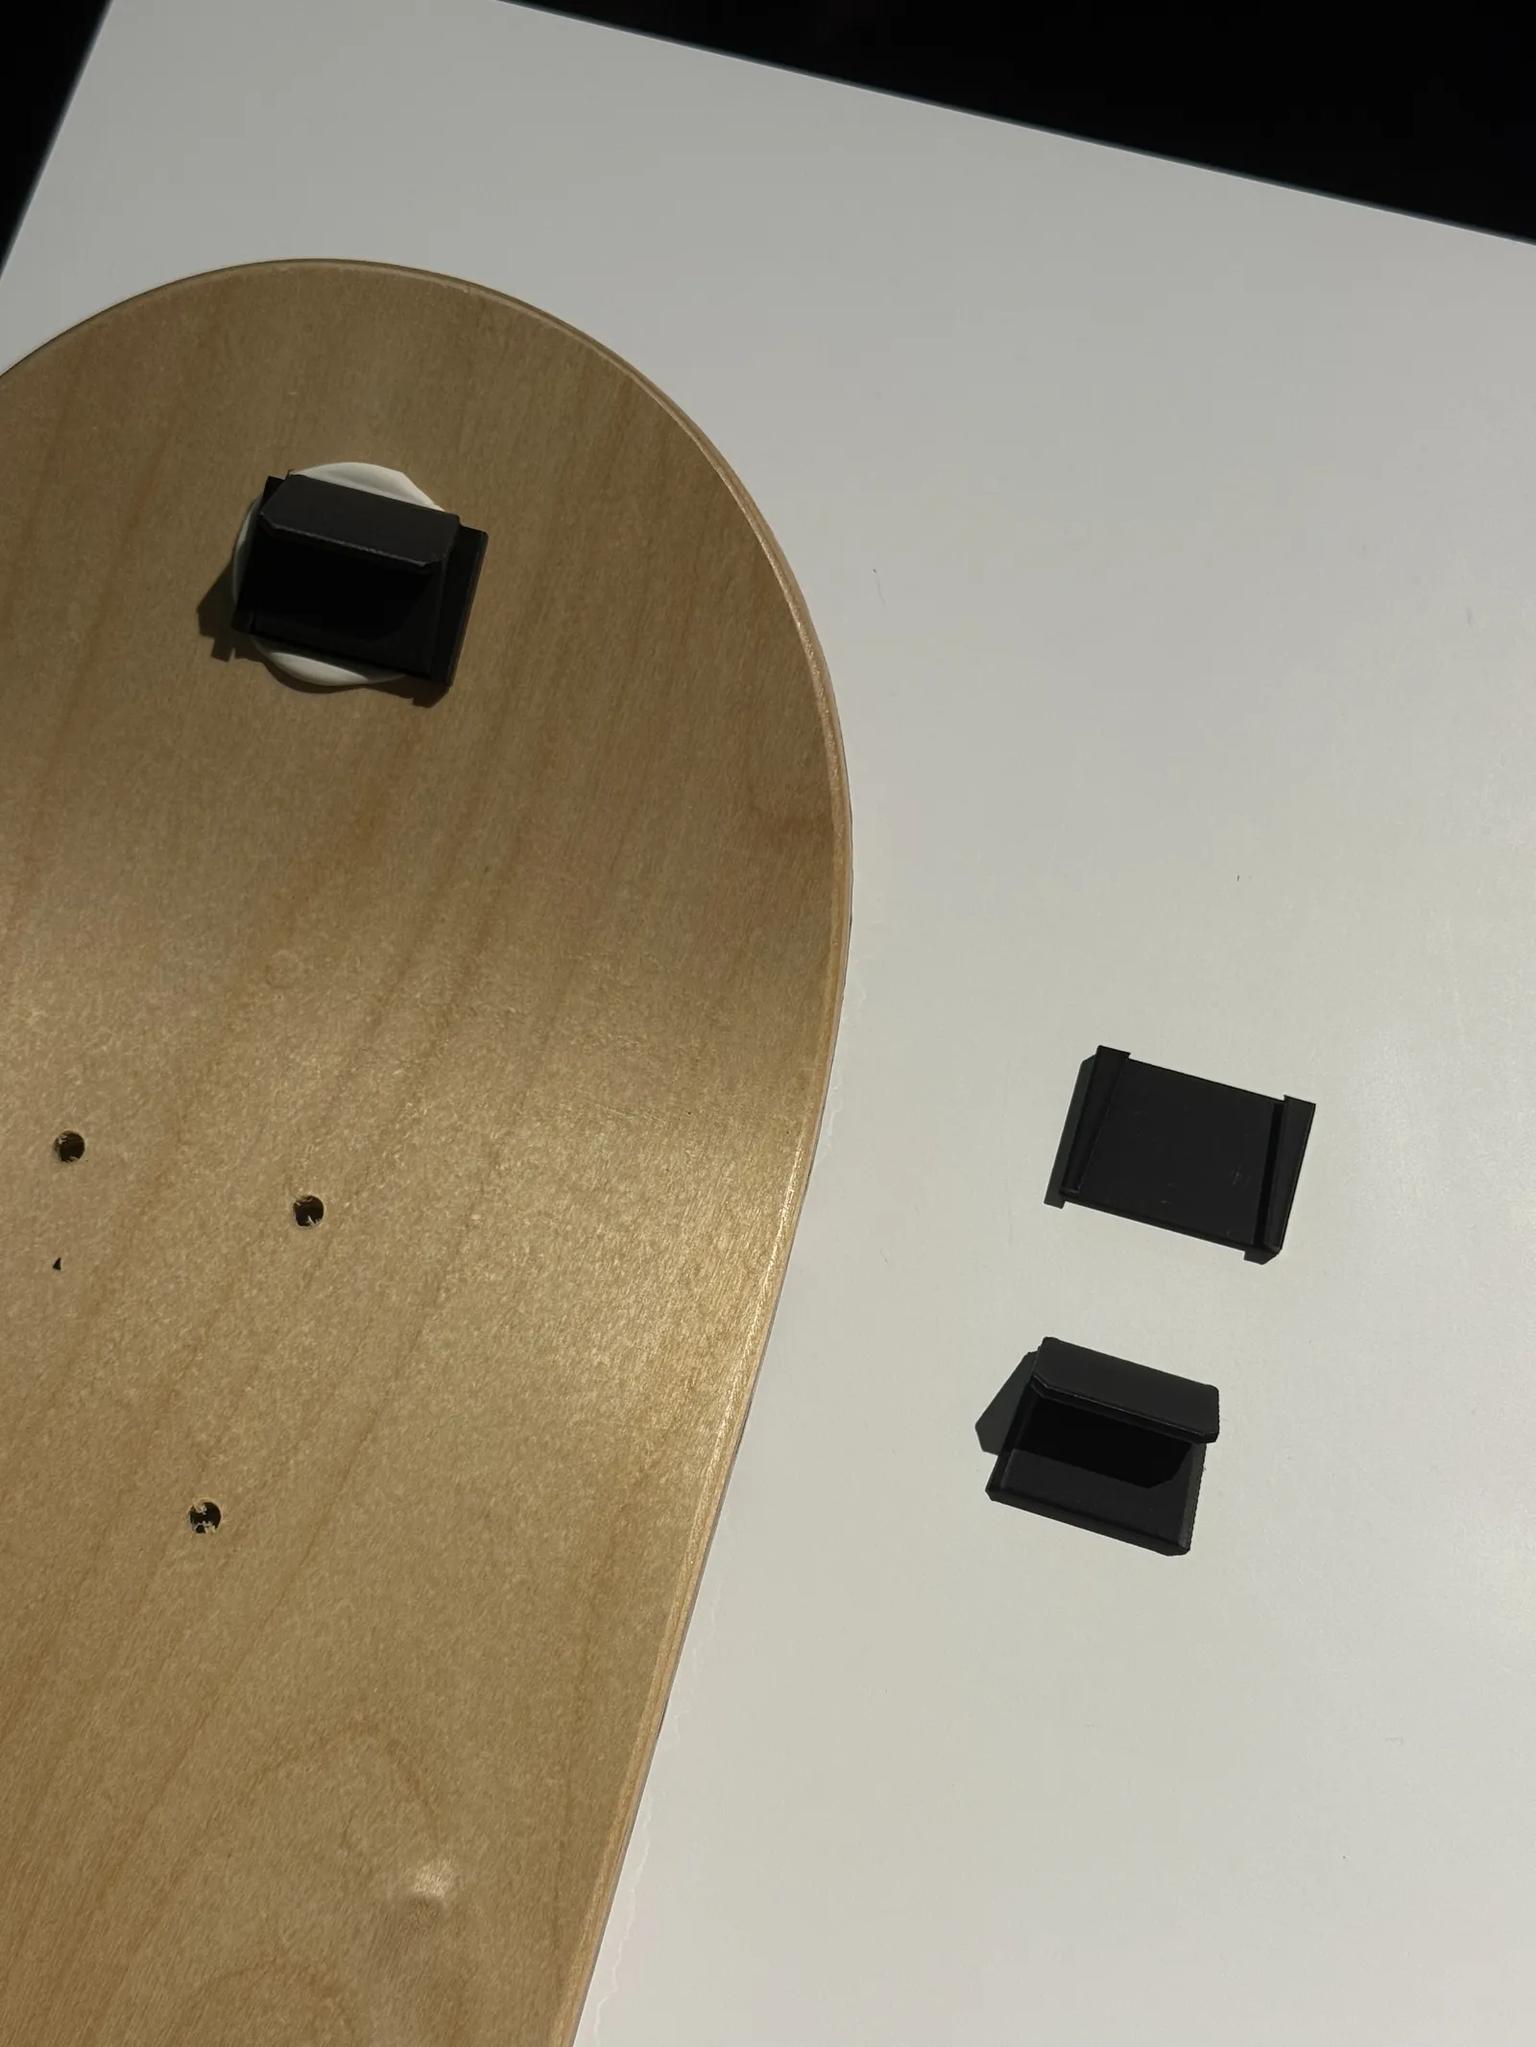
- A bracket on each board: a black bracket, 3D printed in-house, already fixed to the back of the deck with a permanent adhesive pad. It is ready to hang straight away.
- A wall plate for each board: a small 3D-printed wall plate the bracket wedges into.
- Paper alignment guide: to help you mark the wall and line up a set.
Screws and wall plugs are not included. Every wall is different, so choose screws and plugs that suit yours (for example, plasterboard anchors for hollow walls, masonry plugs for brick or concrete). A hardware store can help you pick the right ones.
What you'll need
- Two screws and suitable wall plugs per board, chosen for your wall.
- A screwdriver, and a drill if your wall needs pilot holes or plugs.
- A pencil and a level.
No tools are needed on the board side.
How to mount a skateboard on the wall: step by step
- Choose the spot. Decide where the top of the board should sit.
- Mark the wall. Use the paper alignment guide, or hold the wall plate in place, open side facing up, and mark its two screw holes. Use a level so it sits straight.
- Fix the wall plate. Drill and plug if your wall needs it, then screw the wall plate on with two screws.
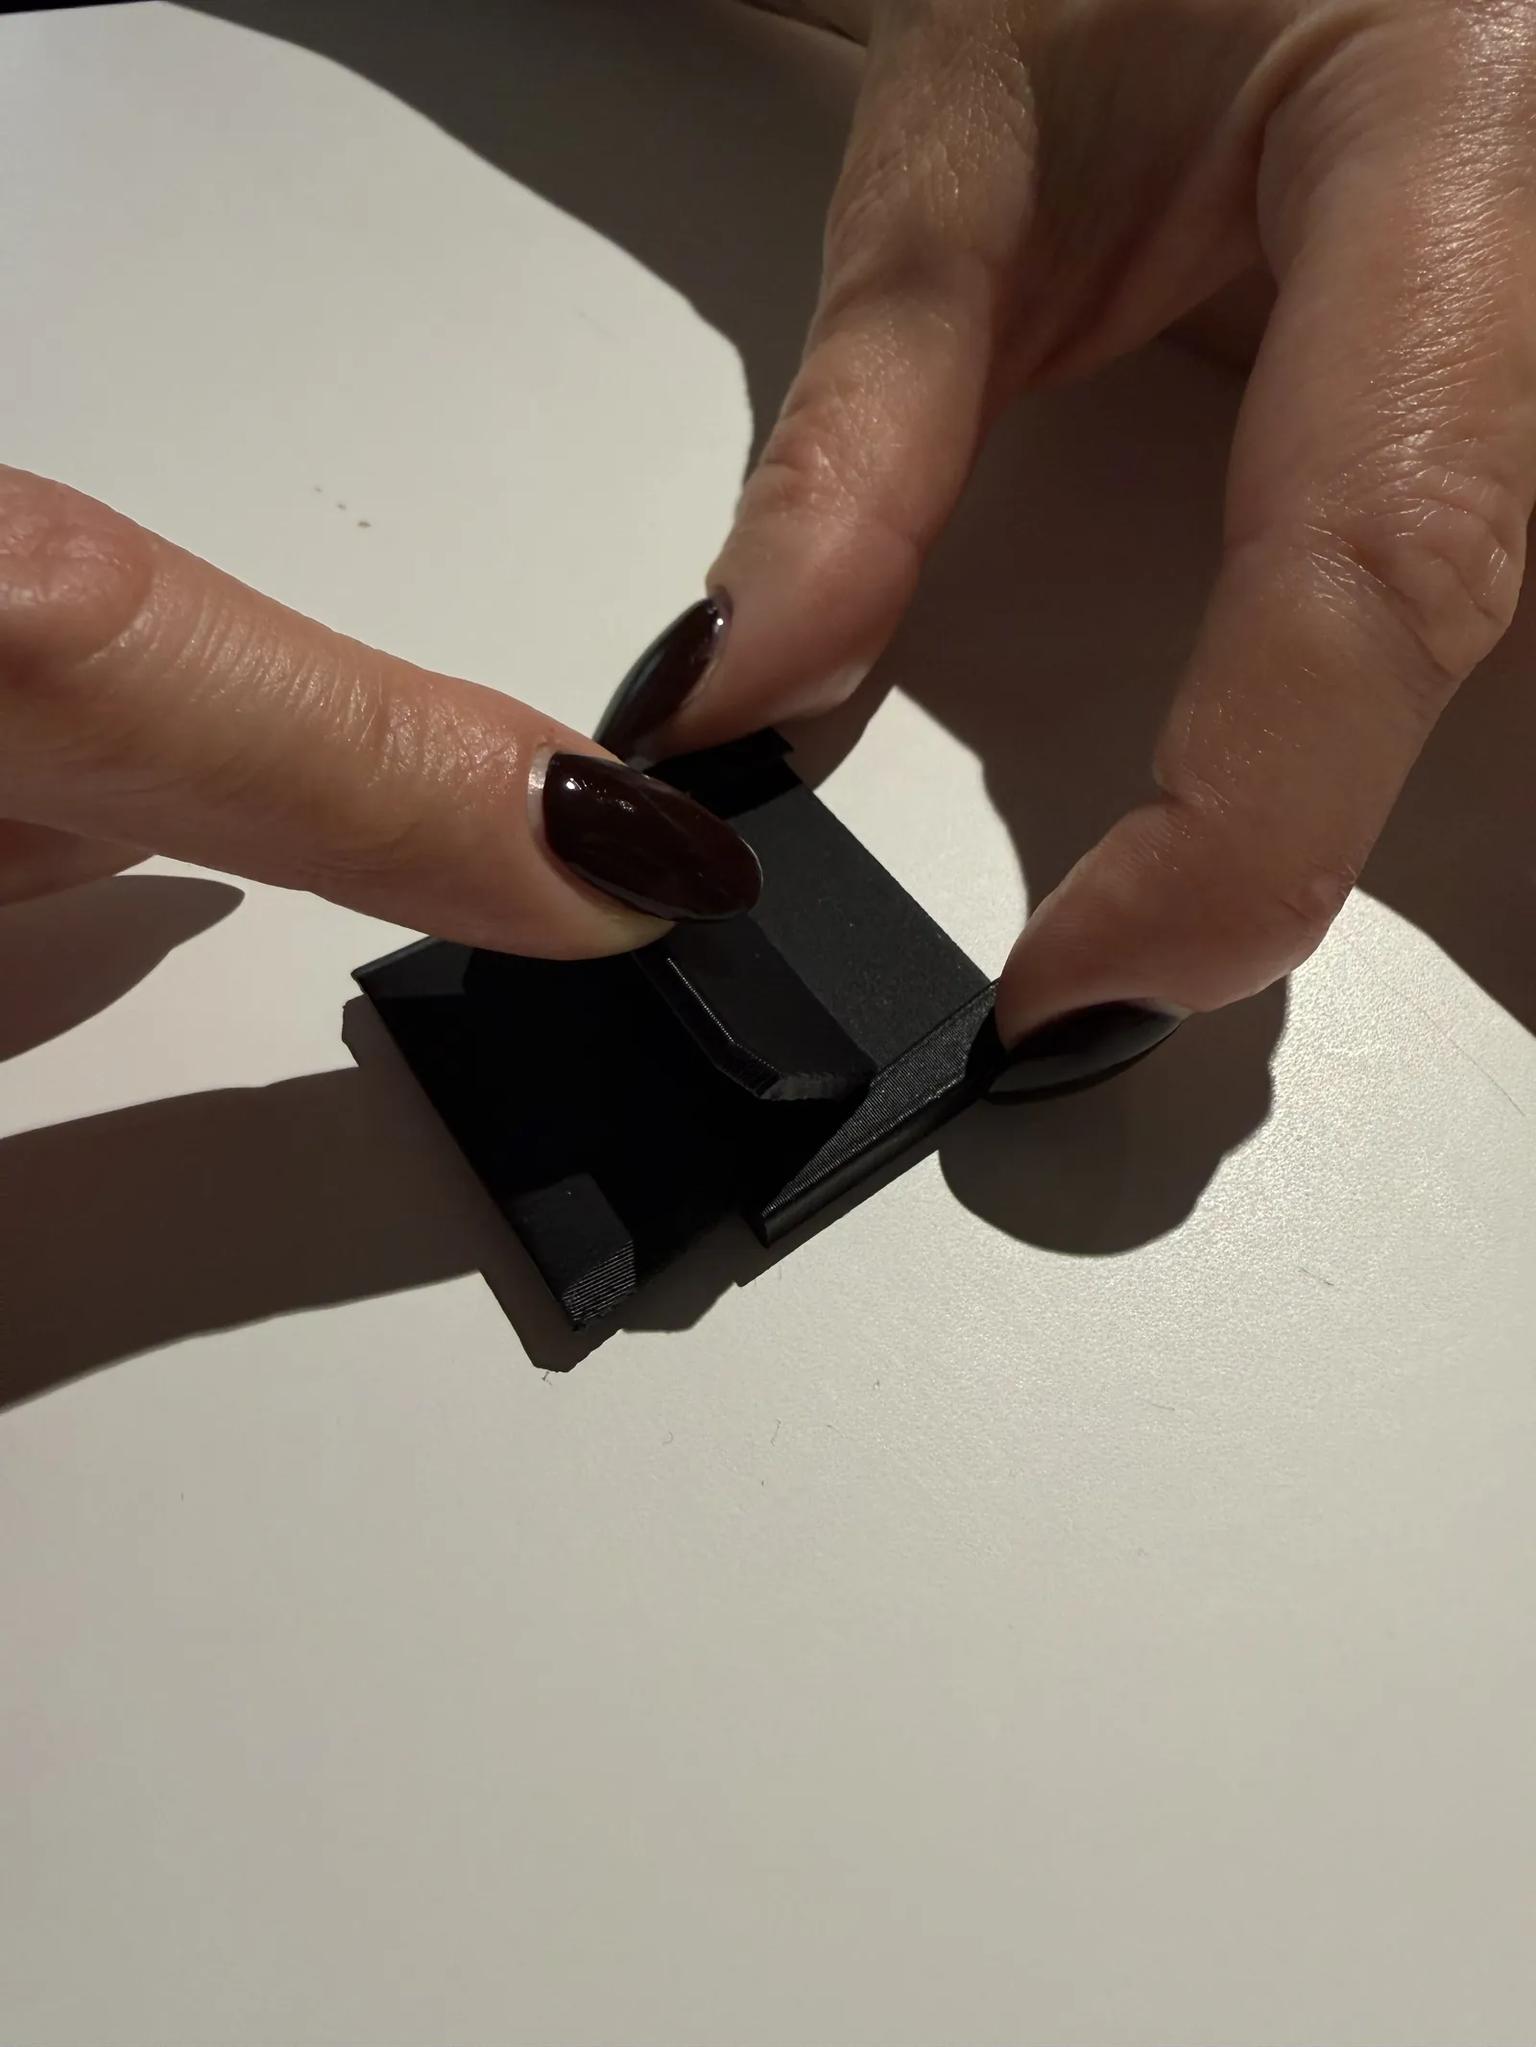
- Hook the board on. Lower the board so the bracket wedges into the wall plate.
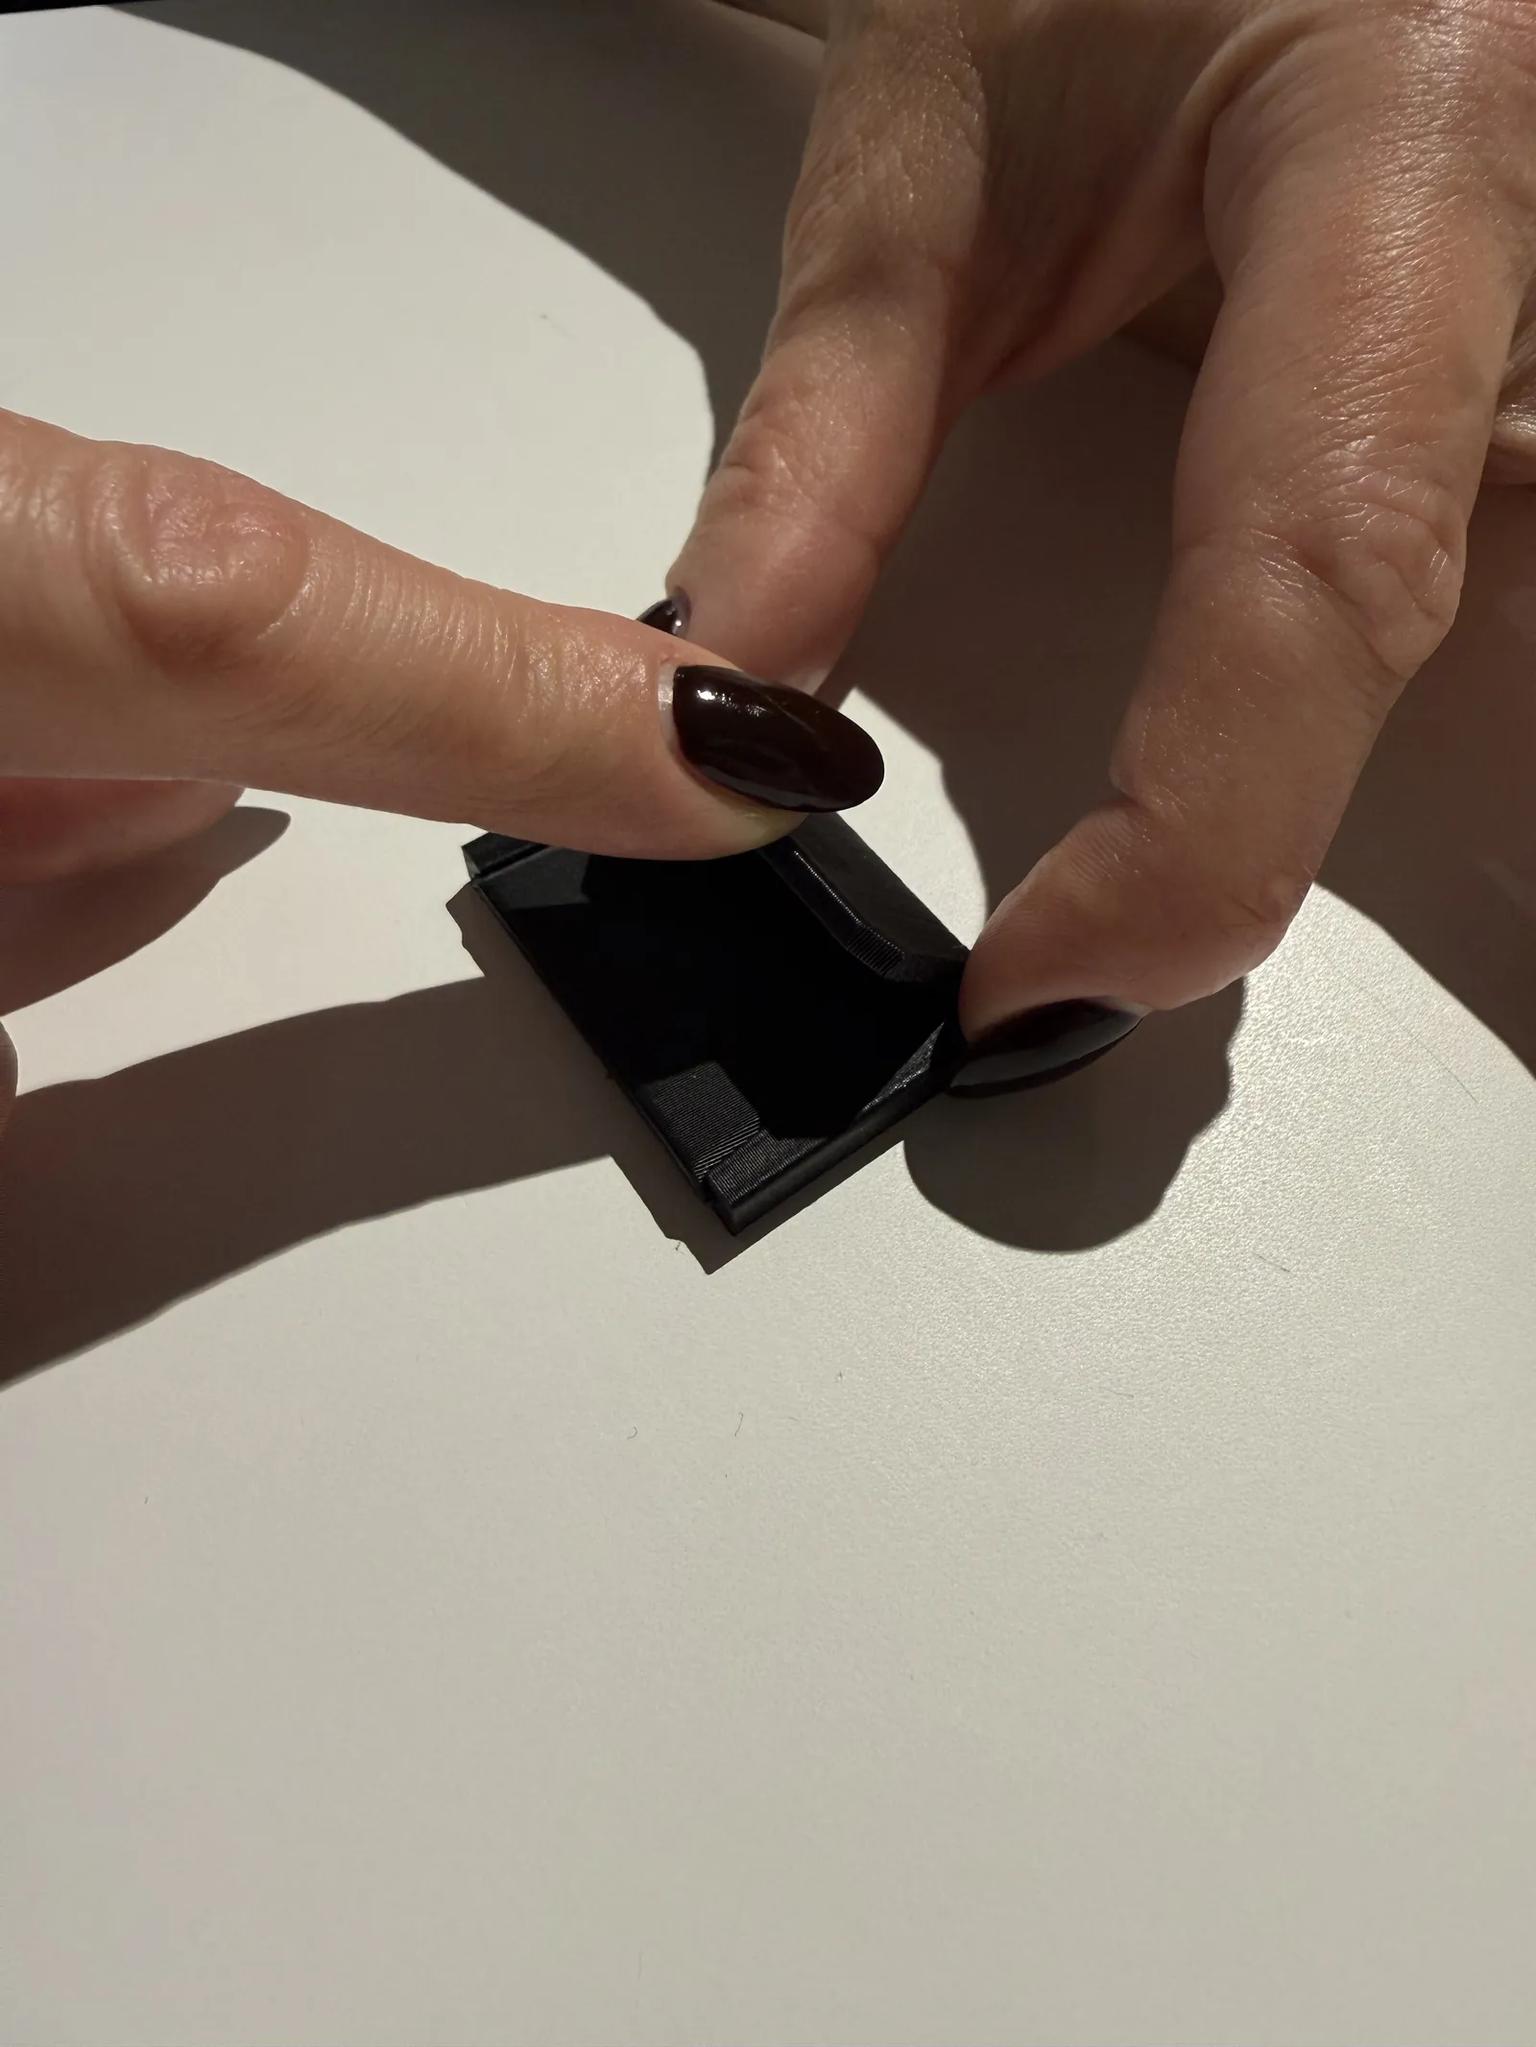
- Level it. The board hangs from a single central point, so give it a small nudge until it is straight.
Please don't try to remove the bracket from the board: the adhesive is permanent.
Hanging a diptych or triptych
Each deck is 20.3 cm (8") wide. With 5 cm gaps:
- Triptych (three decks): about 71 cm (28") wide, 81 cm tall.
- Diptych (two decks): about 46 cm (18") wide.
Fix one wall plate per board, about 25.3 cm (10") apart centre to centre, use the paper guide to mark each position, and use a level across all wall plates so the tops line up. Browse three-board sets or build your own in Mix & Match.
FAQ
How do you mount a skateboard on the wall? The bracket comes already fixed to the board. Screw the 3D-printed wall plate to the wall with two screws, slide the bracket into it and nudge the board straight.
Do I need to attach the bracket myself? No. Every board ships with its bracket already stuck on.
Are screws and wall plugs included? No. We don't know what your wall is made of, so please choose screws and plugs that suit it.
How much weight does the mount hold? The mount is tested to hold 15 kg+ when mounted properly with fixings suited to your wall.
Can I remove the bracket from the board? No. The adhesive is permanent and isn't designed to be removed.
Can I get a spare or replacement mount? Yes. Email [email protected] and we'll help.
Can the boards stand on a shelf instead? Yes, they can also sit on a shelf or lean against a wall.
Questions? Email us at [email protected] and we'll get back to you as soon as we can.
FAQ